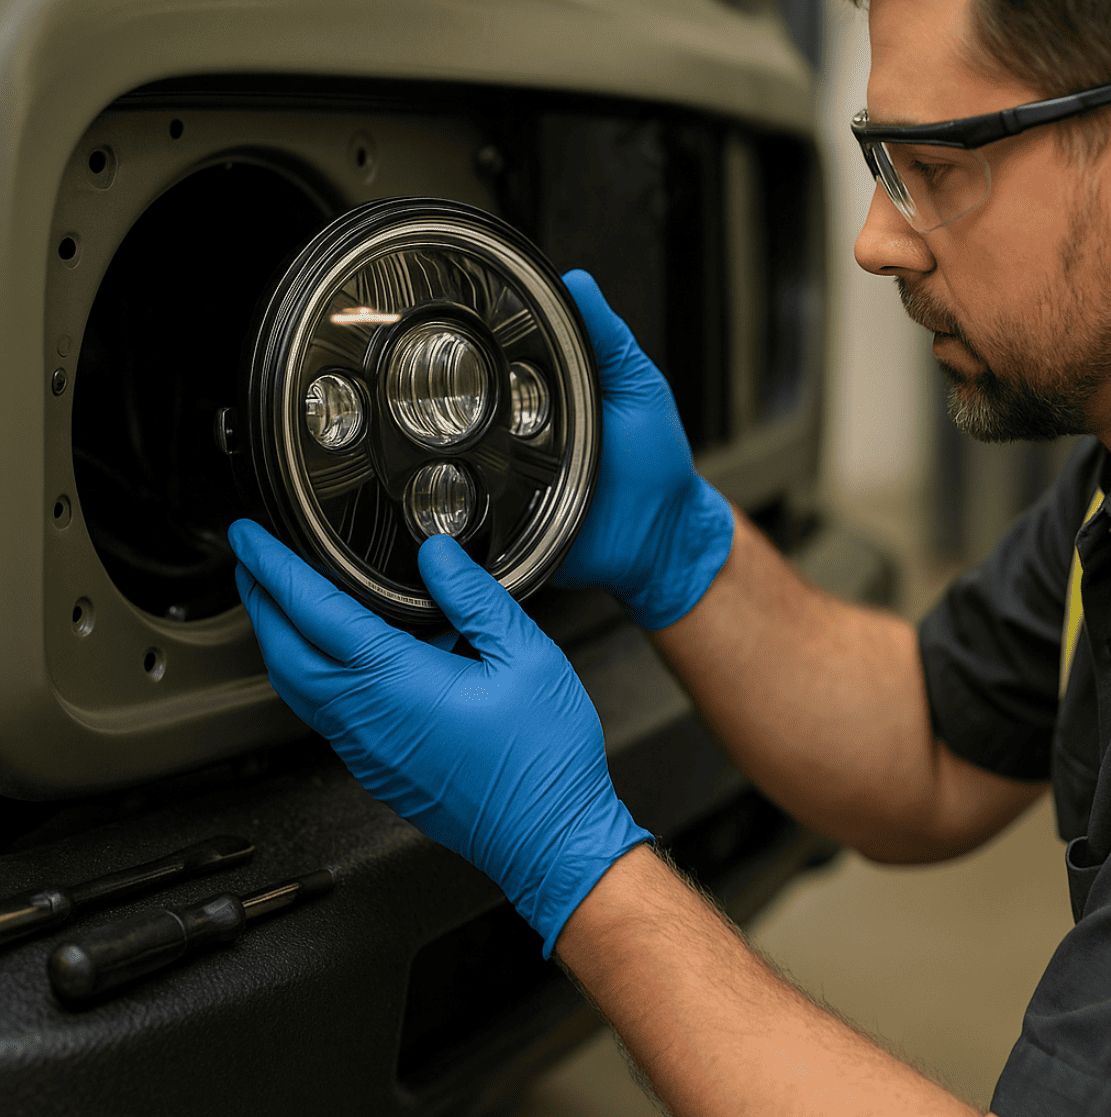
How To Install Headlight: Step-By-Step Guide
Upgrading to aftermarket headlights is straightforward if you prepare well and follow a methodical process. This guide covers the essentials for most 7″ round, sealed-beam replacements and modular LED units used on trucks, specialty vehicles, and tactical platforms.

Step-by-Step Installation
1) Remove the old headlight
-
Remove the trim bezel or grille section if required.
-
Undo the retaining ring or mounting hardware that holds the headlight.
-
Pull the headlight forward and unplug the connector. Keep all hardware for reuse.
2) Prepare the new unit
-
Compare the new headlight to the old one to confirm fitment and connector type.
-
If your kit includes an adapter harness or anti-flicker module, connect it now.
-
If the headlight offers extra functions (DRL, position, turn signal), identify the pigtails for these leads. Do not guess wire colors. Use the supplied diagram.
3) Make the electrical connections
-
Plug the main headlight connector into the vehicle harness until it clicks.
-
Connect auxiliary leads as required:
-
DRL or position light to an ignition or parking light circuit.
- Turn signal lead to the indicator circuit on the correct side.
- Secure all wiring away from sharp edges, moving parts, and heat sources. Use loom where needed.
4) Mount the headlight
-
Place the headlight into the bucket or bracket. The logo or TOP mark should be upright.
-
Reinstall the retaining ring or hardware. Tighten evenly so the lamp sits flat.
-
Refit the trim bezel or grille.
5) Function test
-
Reconnect the battery.
-
Test low beam, high beam, DRL, position, and turn signals.
-
If you see flicker or a bulb-out warning, install the supplied CANbus harness or resistor pack as instructed by the product.
Aim Your Headlights
- Correct aim is critical for visibility and safety. A simple wall-and-tape method works well.
- Park on level ground facing a flat wall. Load the vehicle as normal and set tire pressures.
- Measure the center height of each headlight and place horizontal tape lines on the wall at those heights. Add a vertical line for each headlight center.
- Back the vehicle straight back to a measured distance from the wall. Many procedures specify 7.6 m (25 ft). Some ECE procedures specify 10 m. Follow the instruction sheet for your specific headlight or vehicle.
- Switch on low beam. Adjust the vertical and horizontal screws so the cutoff step sits just below the horizontal line and the hot spot is centered on the vertical line for each side. Left-hand vs right-hand traffic patterns are mirrored, so ensure you have the correct beam pattern for your region.
- Check high beam. It should center on the vertical lines without blinding oncoming traffic.
If you are unsure about local requirements or do not have a beamsetter, have a professional verify the aim.
Troubleshooting
-
Flicker or warning light: Add the specified CANbus anti-flicker harness or resistor kit for vehicles with bulb-out detection.
-
Only one function works: Recheck auxiliary leads. DRL, position, and turn signals require separate connections.
-
Beam looks skewed: Confirm the lamp is seated flat and upright. Recheck bracket and retaining ring alignment.
-
Condensation: A slight mist may appear after washing and typically clears during operation. Persistent moisture indicates a venting or seal issue. Contact support.
Betalight Tactical: Reliable Lighting Solutions for Peace of Mind
At Betalight Tactical, we understand the importance of reliable vehicle lighting. Our advanced LED and tritium-powered lights are designed for durability and efficiency, ensuring you don’t have to worry about unexpected power drain or electrical issues. Our products are built to last, with high-quality components that resist wear and corrosion.
If you’re experiencing tail light issues or looking to upgrade to more reliable lighting solutions, contact us today to explore our range of high-performance vehicle lighting systems.

